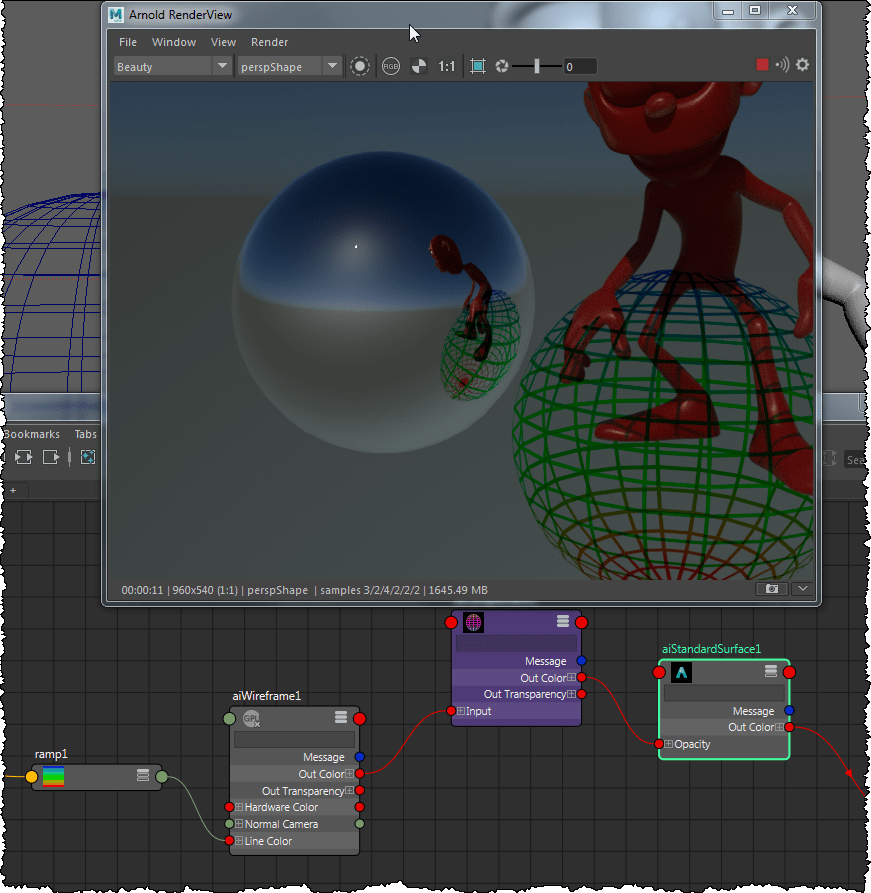
Monthly, annual, and 3-year single-user subscriptions of Arnold 6 are now available on the Autodesk e-store
No more license servers! With a new single-user subscription, you just sign in with your Autodesk ID.
Monthly, annual, and 3-year single-user subscriptions of Arnold 6 are now available on the Autodesk e-store
No more license servers! With a new single-user subscription, you just sign in with your Autodesk ID.
One of the strange thing about supporting Arnold at Autodesk is that you have to be a guru-level licensing expert on Autodesk licensing (not RLM, but Autodesk licensing).
In this case, Maya 2019 would silently fail at startup. Sometimes you’d see the splash screen, but then that would just disappear.
ERROR: checkoutLicense: Failed to authorize license
JsProductLicenseFact.loadSelectedProductInfoKey - Unable to get selected product key due to unknown problem.
TIP All these log files are in the Temp folder.
Process Monitor confirmed that the ProductInformation.pit file was missing:
ProductInformation.pit is an all-important file used by the licensing infrastructure. Every Autodesk product must be registered in that pit file.
If ProductInformation.pit is missing, or corrupted, then everything stops working.
Or: how to fix the node “xgen_procedural” is not installed problem.
For example, suppose you want to render XGen hair in CINEMA 4D on macOS.
export DYLD_LIBRARY_PATH=/Applications/Autodesk/maya2018/plug-ins/xgen/lib:/Applications/Autodesk/maya2018/Maya.app/Contents/MacOS
If you want to control object visibility with operator, or the Arnold Python API, or by editing an ASS file, you need to understand Arnold’s visibility parameter.
In the UI, the object visibility options look like a bunch of separate parameters:
but in Arnold, all those options are stored in one visibility parameter.
For example, if an object is visible to the camera (primary visibility), and to transmission (both diffuse and specular), then that’s visibility 13.
Why 13? Because 13 = 1 + 4 + 8
The Arnold visibility parameter tells Arnold the rays to which the object is visible.
Here’s the decimal values for all the different ray types.
To figure out the visibility, just add up the values for the rays you want.
Ray type | Decimal Value |
Camera (Primary Visibility) | 1 |
Shadow (Casts Shadows) | 2 |
Diffuse transmission | 4 |
Specular transmission | 8 |
Volume | 16 |
Diffuse reflection | 32 |
Specular reflection | 64 |
SSS (subsurface) | 128 |
There’s two denoisers. Here’s when to use them:
For more info, check the docs
You can use kick to render with debug shading. Here’s the flags to use:
Here’s some examples that show how to kick with different types of debug shading (I’ve used the Arnold Render View debug shading modes for these examples)
Debug shading | kick flags |
Basic: disable all shaders in the scene, switching to a gray ‘ndoteye’ shader; a very fast shading mode. |
kick -is or kick -is -sm notdoteye |
Lighting: renders the scene with a white lambert shader |
kick -is -sm lambert |
Occlusion: use ambient occlusion shading |
kick -is -sm ambocc |
Wireframe: displays geometry as a wireframe |
kick -is -cm polywire or kick -is -sm ndoteye -cm polywire |
Normal: visualizes the normal vector (between 0 and 1, in tangent space) |
kick -is -sm flat -cm n |
UV: displays the coordinates of the primary UV set (red=U, green=V) |
kick -is -sm flat -cm uv |
Primitive ID: displays random colors based on the per-primitive (triangle, curve) index |
kick -is -sm flat -cm prims |
Barycentric: displays intra-primitive parametric coordinates (barycentric for triangles, parametric length, and width for curve segments) |
kick -is -sm flat -cm bary |
Object: displays random colors based on the per-object ID |
kick -is -sm flat -cm obj |
Arnold 5.1 adds operators, which among other things, allow you to override parameters in ass files loaded by procedural nodes.
Here’s a quick example using the brand new MtoA 3.0
I exported some particles from Softimage, loaded them into Maya with an aiStandin (aka an Arnold procedural), and then used a set_parameter operator to scale the radius by 0.5
Note that I connect my operator by setting the Target Operator in the Render Settings.
I can chain two set_parameter operators together, to set the mode and then scale the radius:
MtoA defines a lot of batch render flags for Arnold. For example, here’s how to set the Arnold log verbosity and enable file logging:
render -s 2 -e 2 ^ -r arnold ^ -ai:lve 2 ^ -ai:ltf true ^ -ai:lfn C:/Users/blairs/Downloads/render.log ^ D:\Projects\maya\Support\scenes\example.ma
First, to use the Arnold batch render flags, you need to use the Maya -r flag to specify that the renderer is arnold (otherwise, you’ll get an “Invalid flag” error).
Then you can use the Arnold batch render flags:
You can export an ASS file from Maya (with the XGen primitives) and then use an Arnold Procedural to load the ASS file into 3ds Max.
For example, you can copy this:
C:\Program Files\Autodesk\Maya2018\plug-ins\xgen\bin;C:\Program Files\Autodesk\Maya2018\bin;
and paste it at the beginning of the current Path:
Restart 3ds Max after you do this.
Then add the MtoA procedurals folder to the Plugin Search Path: